One question users new to Chrome OS ask is: ‘How do I take a screenshot on a Chromebook?’
The answer is surprisingly easy, but only once you know how. This is why we include the screenshot shortcut in our list of Chromebook Keyboard Shortcuts you need to know.
In this post we show you several different ways to take a screenshot on a Chromebook.
Screenshots on a Chromebook? Easy!
Your Chromebook runs an operating system called Google Chrome OS and this comes with a screenshot feature built-in by default. This means you do not need to install a Chrome extension, download a random app, or tussle with a hidden settings to take a screenshot on your Chromebook.
Assuming you have fingers and a working device you have everything you need to do it.
On a traditional Windows laptop it’s easy: you just press the print screen button. But this button is not included on a Chromebook keyboard.
The Chromebook equivalent of print screen is to press the the Ctrl and Window Switcher keys at the same time. They look like this:

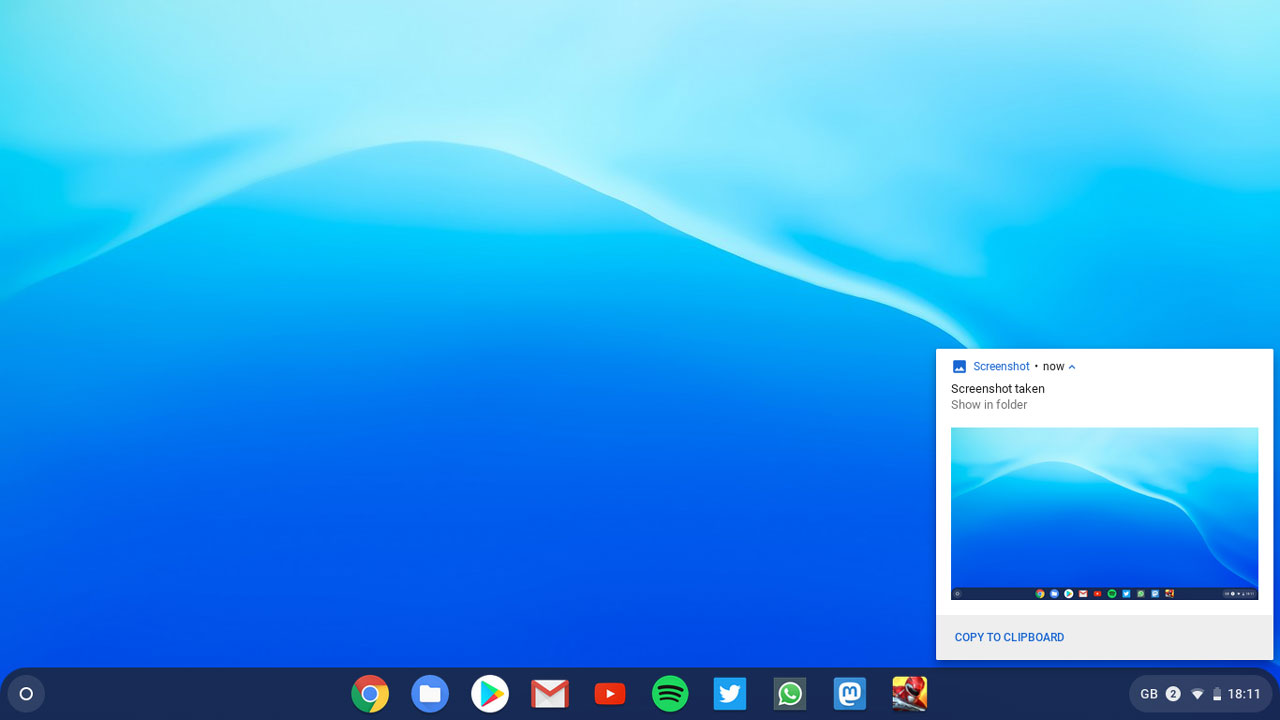
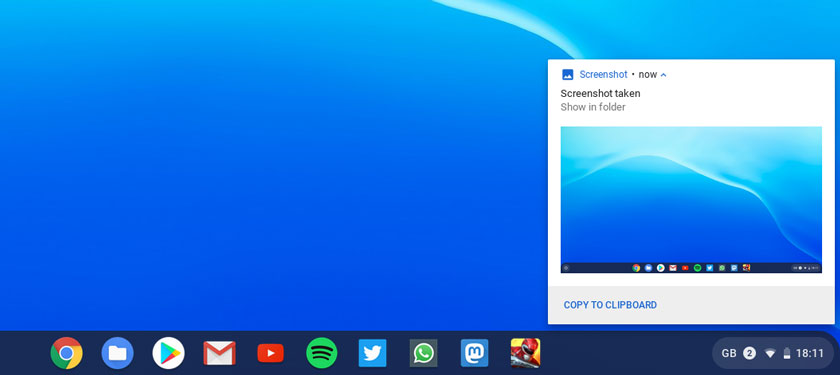
When you press these keys together the screen will flash white and a screenshot is instantly taken. A notification will appear a second or so later to tell you that a screenshot was taken.
Click on the ‘screenshot taken’ notification to open the screenshot file in the Chrome OS file manager. From there you can upload, edit, or share it elsewhere like any regular image file.
Can I take a cropped screenshot instead?
If you only need to screenshot a specific area of the screen you can take a cropped shortcut (also known as a partial screenshot) on your Chromebook too.
Press the ctrl, Shift and window switcher keys on your Chromebook to enter cropped screenshot mode:

When you press this keyboard shortcut your Chromebook screen will dim and your mouse pointer will turn in a cross-hair.
Click and drag out a box over the portion of the screen you want to take a snap of. The moment you lift your fingers off of the touchpad (or stop clicking with a mouse, if you’re using one) the screenshot will be taken.
As before, you get a notification to tell you the screenshot was successful. You can click on this to open the related image in the Files app.
There’s a Screenshot Menu Shortcut too
Not a fan of fancy finger-flexing keyboard shortcuts? No worries! Your Chromebook also has a “Take screenshot” option squirrelled away in the Settings > More Tools menu:

You can use this menu option at any time to screenshot your Chromebook’s entire display.
The only downside to using this method is that the Chrome browser stays on on screen; there’s no timer or delay so you can’t minimise Chrome and/or focus a different app to take a snap of that. Keep that in mind.
Using a Chrome OS tablet?
Taking a screenshot on a convertible Chromebook or a dedicated Chrome OS tablet is a little different.
If you use your Chromebook as a tablet (because the screen is able to fold back) the keyboard is a) hidden and b) deactivated. So to take a screenshot on a Chromebook tablet press the power and volume down buttons on the side of the device at the same time — just like on an Android phone!
Over to you
Regardless of which method you use all screenshots you take are saved as high-quality .PNG files. These are stored in the Downloads folder for easy retrieval.