If you’re any kind of Chromie fanboy worth his pixels, you have probably already come across the new Google+ Photos App, ‘Pulsar’.

The Native Client-powered app, announced two weeks ago as part of the Chromebook Pixel launch, brings us the long-needed interface overhaul and likely merge of PicasaWeb and Google+ Photos.
Although not yet released, the development leak brings powerful features to the (dark)table, including automatic import from SD cards and cameras, “Instant Upload” of photos from your computer,* and image analysis to select the best shots. This auto-curation tool chooses photos based on characteristics like image quality, exposure and blurriness.
It is hoped that better photo organisation tools and editing software surfaces in the near future, potentially in the form of Nik Software, Snapseed or Picnik.

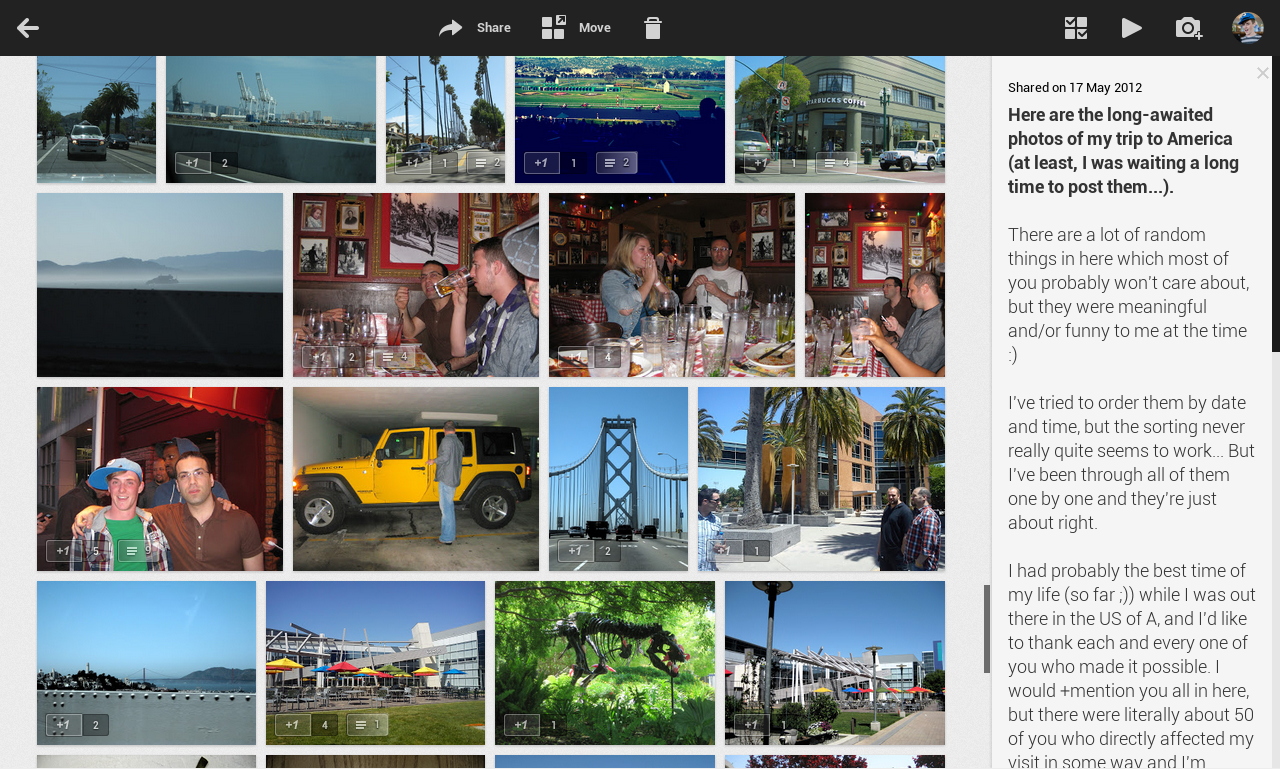
The app style seems to take a lot of pointers from Android, and is clearly designed for touch interaction. Naturally it already has the beginnings of integration with Google+, displaying +1s, comments and view-counts on images from your Google+ albums, and allowing you to share your photos with one click.
The general consensus is that this app, as of yet, is impossible to run — and with good reason: it’s blinkin’ hard to get going. However, thanks to François Beaufort and Saša Stefanović (and this thread), I have been able to piece together a clunky guide to try it yourself.
* It is not yet possible to restrict upload locations — it will currently auto-upload all discovered photos and videos (although there is a setting for ‘full size’ or ‘standard’ uploads — standard uses no storage quota).
What do you think of it so far? Check out the screenshots below.


Here be dragons!
Here comes the fun part. Want to test this pretty new app out before Google release it? The road may be long and tedious, but if you’re anything like me then trying to use apps still in development is all the excitement you get.
A how-to guide of this quality (or lack thereof — apologies) is never something I’d want to force upon anyone, but this is the only method I have found and I’m certain many of you are simply itching to try it out. So, if you have the courage and daring and wish to explore unmarked territory, read on…
But don’t say I didn’t warn you.
Speaking of warnings:
- This is dangerous
- This is unreleased code
- This is very dangerous
- (Although not as dangerous as doing this in your day-to-day Chrome)
- I will not be held accountable for any issues
- It could lock up your system
- It’s a highly memory intensive app
- Not everything in this guide is point-and-click-and-“yay it did it for me”
- You will have to enable flags (I may have missed one or two)
- You will have to manually edit (one) file
- This will upload ALL photos found on your computer (to your instant upload folder) (except perhaps for your local Picasa-managed library)
So, without further ado, here is how to get it.
1. Installing the app
- First, you need to get the latest Chromium build from here. Extract the .zip and run Chromium (the file will probably be called ‘chrome’ or ‘chrome-wrapper’).
- Go to about:flags and enable the Experimental Extension API. [Screenshot]
- Next, you need the app package ‘pulsar.zip’ provided by François Beaufort. Hit Ctrl+S or click File → Download.
- Extract the .zip and open the Chromium extensions page from Menu → Tools → Extensions.
- Enable ‘Developer mode’ with the checkbox at the top, and then click ‘Load unpacked extension…’ and choose the folder you extracted called ‘pulsar’. This will install the app. (You will see an error below the extension — ignore this for now.)
- Copy the ID of the extension (you will need this multiple times so remember where to find it!)
Theoretically, the app should now just work — but as it is not the final release, there are a few loopholes we will have to jump through to get this going. Right now you will not be allowed to launch the app, and neither will you be able to sign in to it.
2. Get your Client ID
- Log in to Google APIs.
- Click ‘Create project’ — this is entirely private to you.
- Click ‘API Access’ in the sidebar
- Click ‘Create an OAuth 2.0 client ID’
- Enter a product name and click Next — again, private to you, so it doesn’t matter what you enter.
- Select ‘Installed application’ and then ‘Chrome Application’.
- Paste the extension ID from earlier
- click ‘Create client ID’
- Copy the whole Client ID url, e.g. 359235445268.apps.googleusercontent.com. THIS IS YOUR CLIENT ID.
3. Enabling Google Sign-In
- Go back into the pulsar folder and open “manifest.json” in a text editor.
- Search for “client_id”, replace the existing ID with the Client ID you just created.
- Re-install pulsar extension per Stage 1.
- Copy the extension ID again — you’ll need it in a second.
4. Running the Google+ Photos app
- Quit Chromium. Relaunch it with the flags:
--enable-media-transfer-protocol-device-operations --whitelisted-extension-id=extensionID
where extensionID is the ID number you copied just now. - go to the Chromium extensions page again — there should now be no error message below the Google+ Photos app.
- Click ‘Launch’.
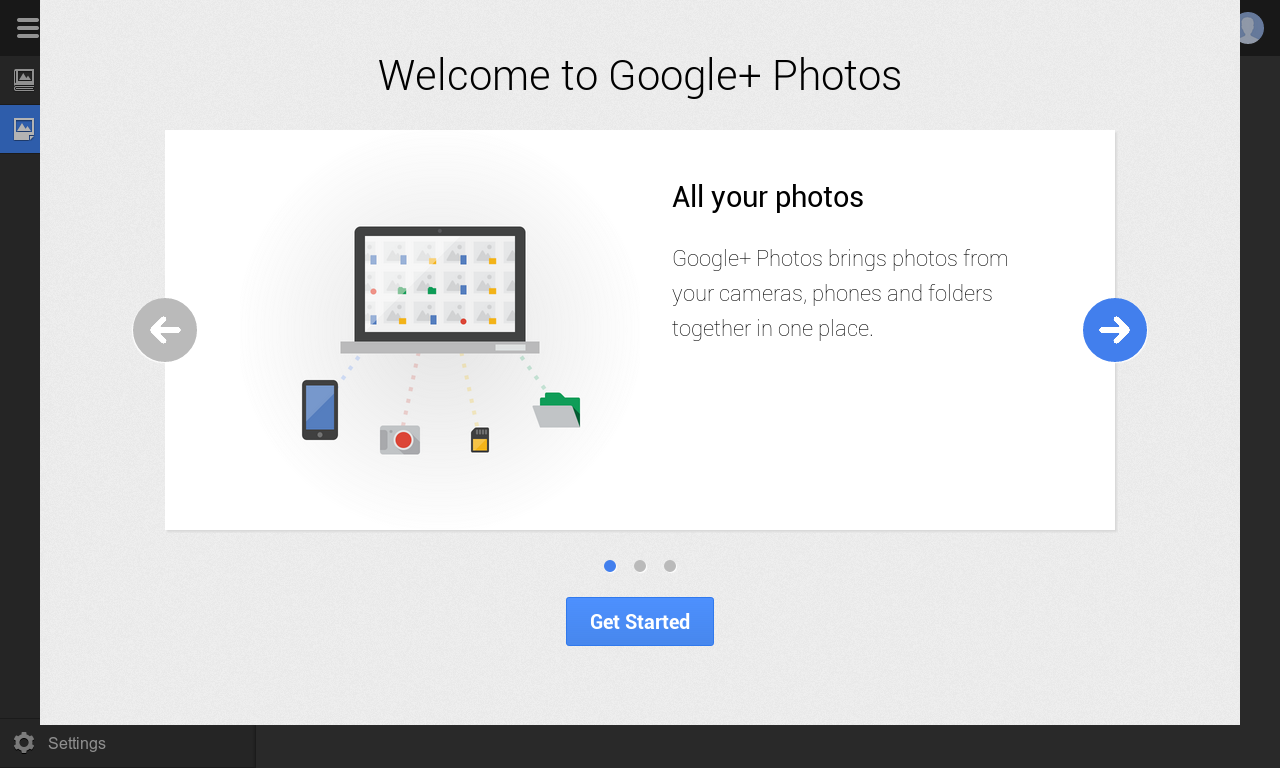
- Welcome to Google+ Photos.
- Click ‘Sign in’, choose ‘Allow’ in the Permissions popup box (the window does say “You should never encounter this message. Please do not approve the access requested.”, but you have just performed a thoroughly non-standard procedure to enable a non-approved app).
- Look through the introduction slideshow, click ‘Get Started’, and watch as the app begins to scan and upload every single photo and video.
- Collapse in a heap on your bed, only to realise you haven’t even made it yet.
Congratulations! (…if you actually made it this far)
- Source: François Beaufort